Japanese biscuit
- Nutrition Facts
- Calories: 345
- Protein: 9.5
- Fats: 23
- Carbohydrates: 22.5
- Information
- Time: 1 hour 30 mins
- By: Zeelliio
- Ratings 5
- Your ratings:

Today we are preparing a Japanese biscuit. This is a well-known dessert, but in a new reading. Light, sweet and weightless - these are the best characteristics for just such a biscuit. But before we learn how to cook Japanese cotton biscuit, let's talk a little about the history of this dessert and the benefits of such a dish.
History of Japanese custard or cotton biscuit
One of the names of this wonderful dessert sounds like a Japanese biscuit Genoise. Almost the same thing lies in the name of the Japanese custard biscuit or chiffon biscuit, and to be convinced of this, just look at the recipe. This is exactly what we will do, but a little later, but for now a few words about the features. The first and main difference of this particular dessert is that in addition to traditional sugar, eggs and flour, it also contains butter or vegetable oil. By the way, in the case when we add vegetable oil, the biscuit will be called chiffon. But if we add butter, then we will prepare a cotton biscuit or Genoise. In any case, the addition of any fat leads to the fact that the biscuit does not crumble and does not crumble, and in some cases this is very useful. Such a biscuit, for example, is perfect for frozen fruit or cream fillings and even coolies. And also a Japanese biscuit, or rather its recipe is very easy to prepare, which makes it indispensable in the arsenal of any housewife. What is good about it, do you think? Let's try to figure it out.
Ingredients:
- Flour for baking cakes - 115 g
- Milk - 115 g
- Butter - 115 g
- Egg (s1) - 7 pcs.
- Sugar - 115 g
- Split form with a diameter of 16 cm
- Total cooking time 1 hour 30 minutes.
Japanese biscuit, recipe with photo step by step:
- Prepare food.
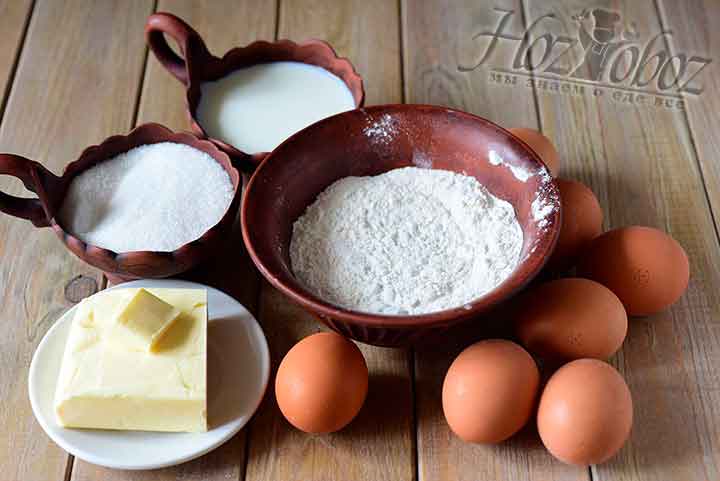
Prepare the necessary ingredients
- Carefully separate the eggs into yolks and whites.
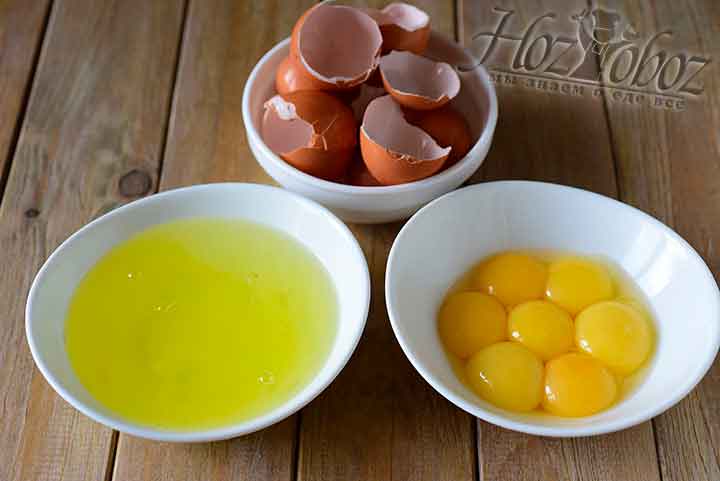
Separate the whites from the yolks
- Pour milk into a saucepan and add all the butter to it. Put on a small fire and wait until the oil is completely melted. Remove the saucepan from the stove, cool the milk mixture to a temperature of 50-60 degrees.
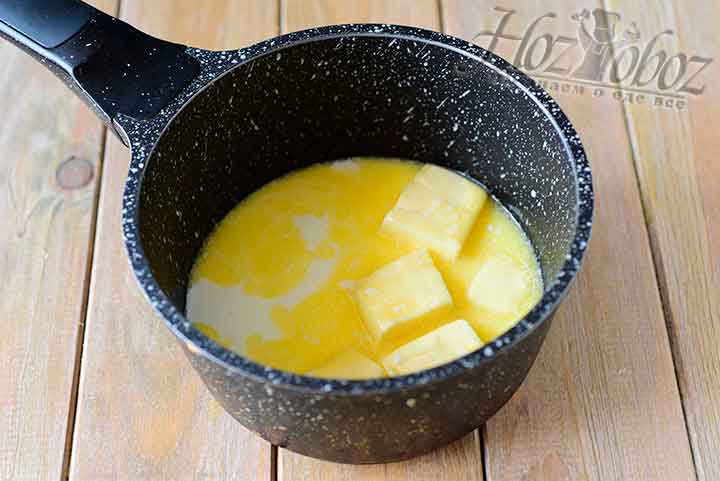
Pour milk into a saucepan and heat butter in it. And now just cool the milk mixture to 50 degrees.
- Sift flour into a bowl.
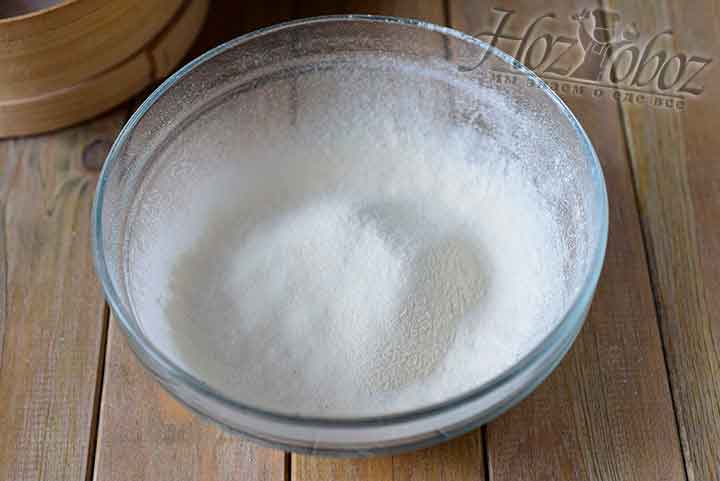
Sift flour into a bowl.
- Pour the milk mixture into the bowl with the flour.
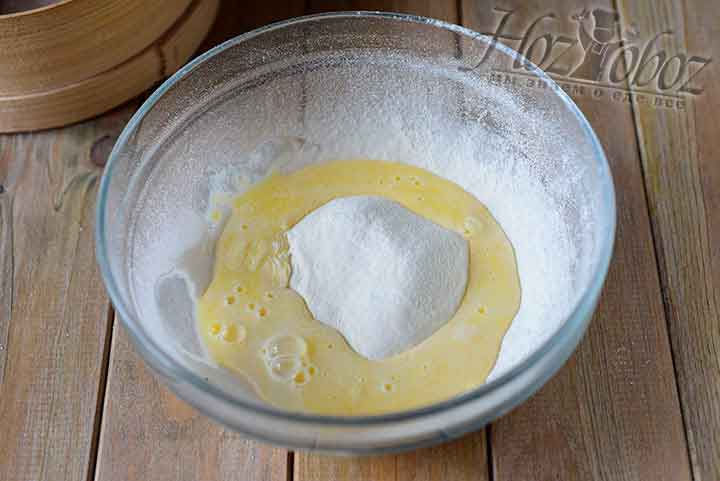
Combine milk mixture and flour
- Mix with a whisk until the lumps disappear completely. You should get a viscous fluid mixture.
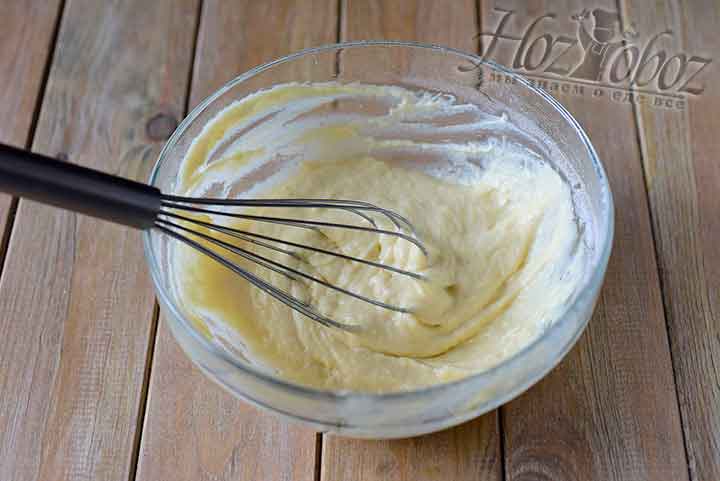
Stir the dough well until the lumps are completely dissolved
- Now add the yolks in parts, actively mixing them into the contents of the bowl.
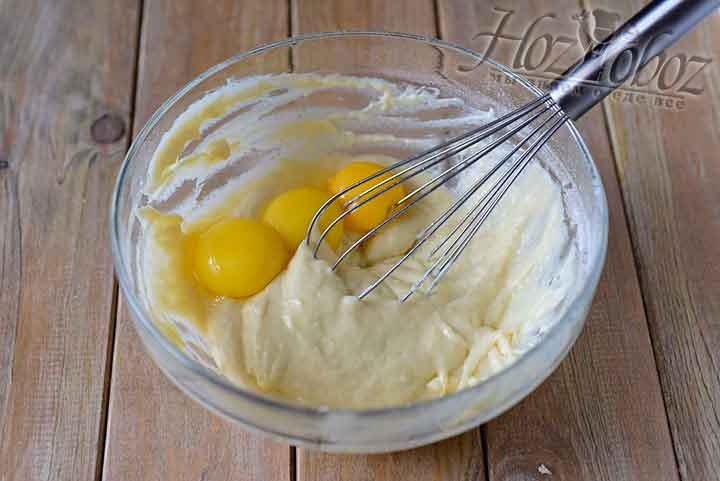
Now add the yolks one by one and stir in
- You should get a viscous homogeneous mixture.
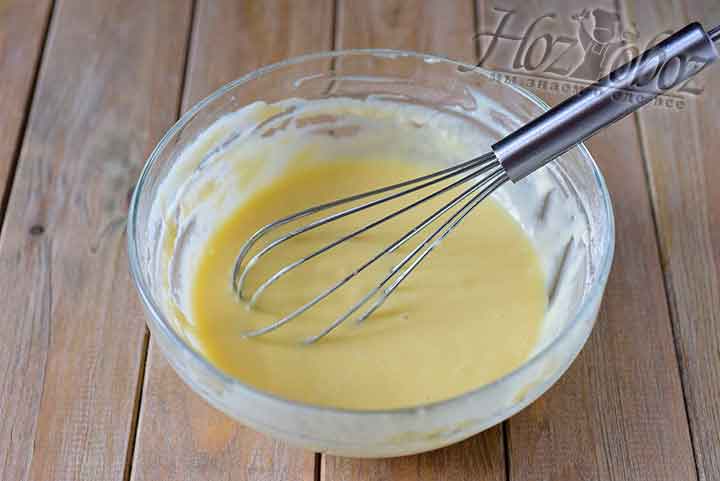
Stir well until smooth
- Put the proteins in a clean, dry bowl and beat them to stable peaks, adding a little sugar in the process.
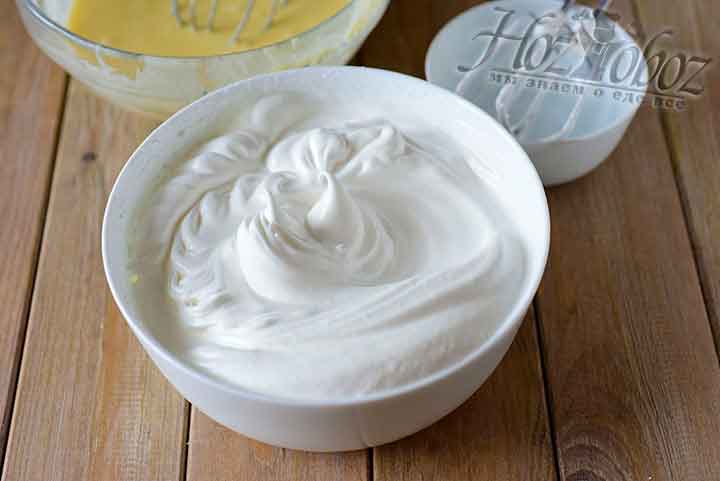
In the meantime, beat the egg whites to stiff peaks and add sugar in the process
- Add the protein mass to the bowl to the flour mixture.
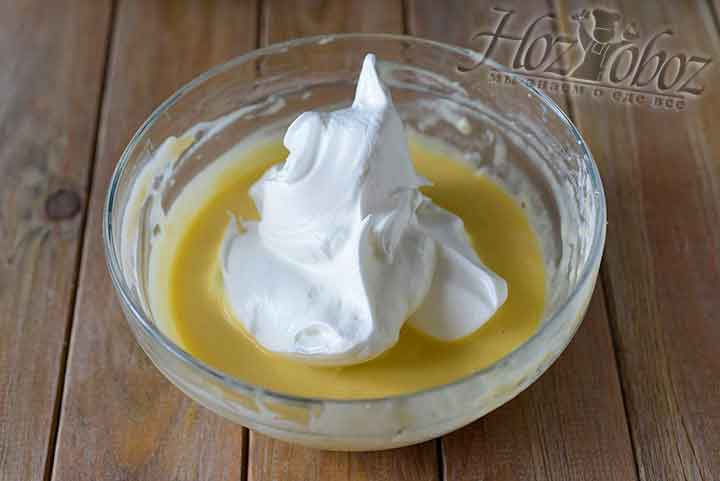
And now the whipped proteins must be mixed into the main dough
- Gently stir in the whites with a spoon or spatula. It should be a very airy dough.

In order not to lose airiness, carefully mix the proteins with a spatula
- Now you need to prepare a baking dish. It is highly desirable that the form be monolithic, that is, not detachable. But I only have a detachable form with a diameter of 16 cm at my disposal, which means that I wrapped the bottom with foil in several layers so that moisture did not have the slightest chance to seep through. Put food parchment on the bottom of the mold, and line the walls of the mold with parchment. Put the dough into the prepared form. Then, in a baking sheet that is larger than the form, it is necessary to pour water, the height of which will be 2 cm, and put the form with the dough into the water. Load this design into an oven preheated to 150 degrees and bake a Japanese biscuit for 70 minutes without opening the oven door during the baking process.
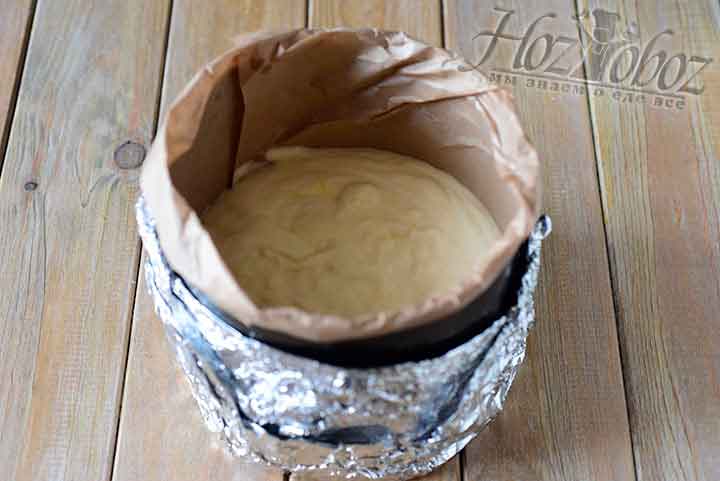
We cover the bottom and walls of the form with parchment, and then we send the dough there. We place the form with a biscuit on a baking sheet filled with water by about 2 cm, and heat the oven to 150 degrees. And now we send the baking sheet with the form to the oven and bake the dessert for about 70 minutes
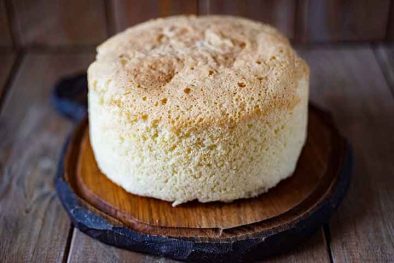
- Free the finished biscuit from the mold and parchment. It turns out springy, very tender, finely porous.
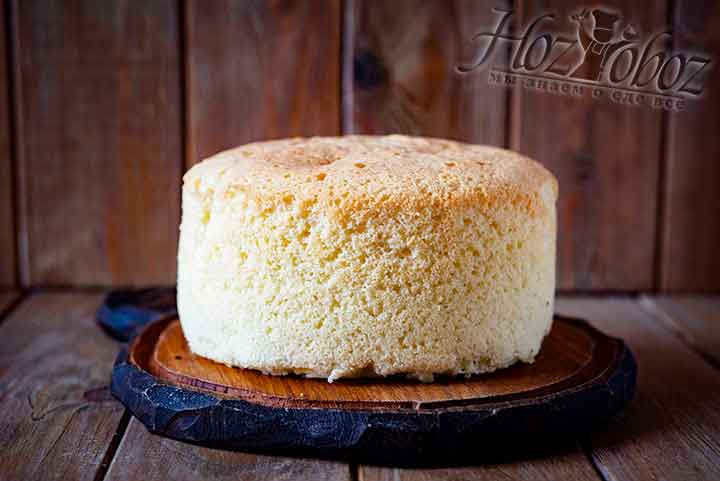
That's all, friends, our biscuit is ready and it's time to try it. Believe me, it is soft, tasty and tender like no other. Enjoy your meal!
The benefits of the dish
Such a dessert can be considered useful just as much as any flour product with the addition of sugar and fat can be useful. It is great as an afternoon snack in baby food or as a hearty snack on the menu of people who are shown high-calorie meals. Well, for everyone else, the Japanese biscuit, the recipe of which and even with a photo we have prepared for you today, should be an exceptionally festive treat. So it's time to move on to the recipe. So, the recipe for Japanese biscuit step by step.
This is such a simple and surprisingly delicious Japanese biscuit. Try it, you will definitely like it. And we will be glad if you share with us your delicious and interesting culinary treats. Let's cook together - it's fun and healthy. Always your HozOboz!