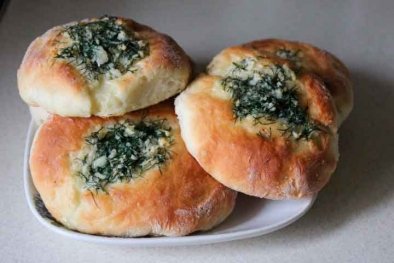
Garlic buns
- Nutrition Facts
- Calories: 311
- Protein: 9
- Fats: 3.5
- Carbohydrates: 59
- Information
- Time: 1 hour 45 mins
- By: lesya
- Ratings 4
- Your ratings:


Garlic buns are lush, fragrant and very easy to prepare pastries. This dish is very easy to cook at home, even for housewives who do not like to mess around with the dough. The buns rise well, bake very quickly and disappear from the plates instantly. Garlic buns, the recipe of which is very simple, will be an excellent addition to first courses, rich soups and borscht. Good as a separate dish to treat guests. But how to cook garlic buns - you can see the recipe with a photo step by step on our HohOboz.
Previously, garlic buns and donuts were baked in large clay pans in a large fiery oven. Now everyone uses ovens, but I want that same taste, like from my grandmother's oven, when hot buns are taken out, fresh borscht is poured into plates and the whole family sits down at a cozy home table ... How to bake lush garlic buns for borscht? You can take the recipe with a photo from us and cook an excellent and hearty dinner, bringing the whole family at the table with the aroma of spicy pastries.
History of garlic buns
Garlic buns are a kind of variation on donuts with garlic. They have long been prepared on the lands of Kievan Rus, (garlic yeast buns) were baked instead of bread for borscht, cabbage soup and soup. Since the Slavs are accustomed to hearty and hearty meals, pastries were baked for almost every dish, and in Ukraine it is customary to eat bread and buns with a second and even just compote. Such delicacies gave the energy and strength necessary for hard work. I really liked this dish with Ukrainian borsch, especially if you serve hot buns - with heat and heat.
Dough Ingredients:
- Flour - 550 gr;
- pressed yeast - 25 grams;
- sugar - 2.5 tbsp;
- salt - 1 tsp;
- water - 220 ml;
- olive oil - 2 tbsp.
Refueling:
- butter - 50 grams;
- dill - 30 grams;
- garlic - 2 heads.
Cooking:
- Prepare warm water. In no case should the water be hot, otherwise the yeast will transfer, then the dough will not be able to rise at all. Dissolve two tablespoons of sugar in warm water.
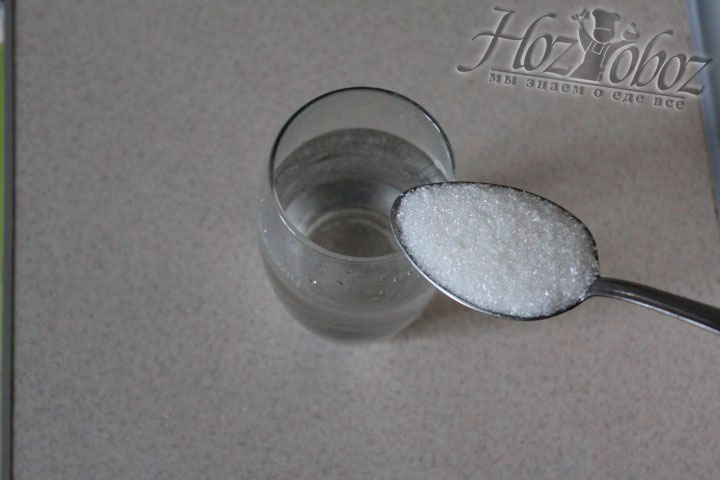
Dissolve a couple of tablespoons of sugar in slightly warm water
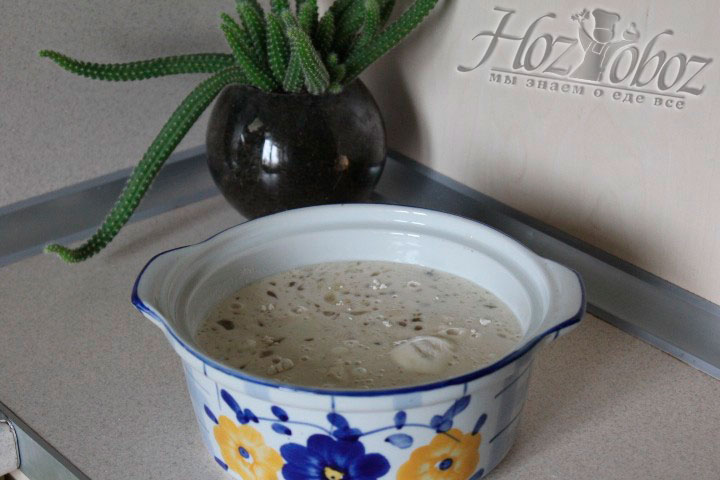
- Add fresh yeast to sweet warm water. Dissolve them in water and send to a warm place so that the yeast reacts.
Put fresh yeast in sweet water, cover and put in a warm place to part
- Pour wheat flour into the bowl for kneading the dough.
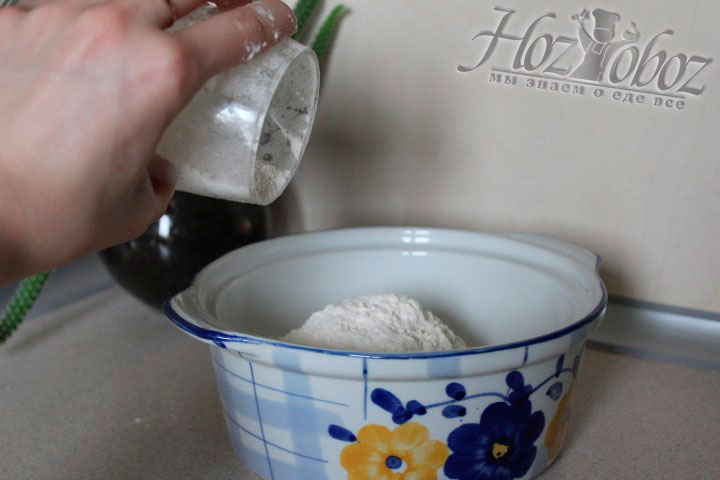
Put flour into a bowl for dough
- Pour olive oil into the flour.
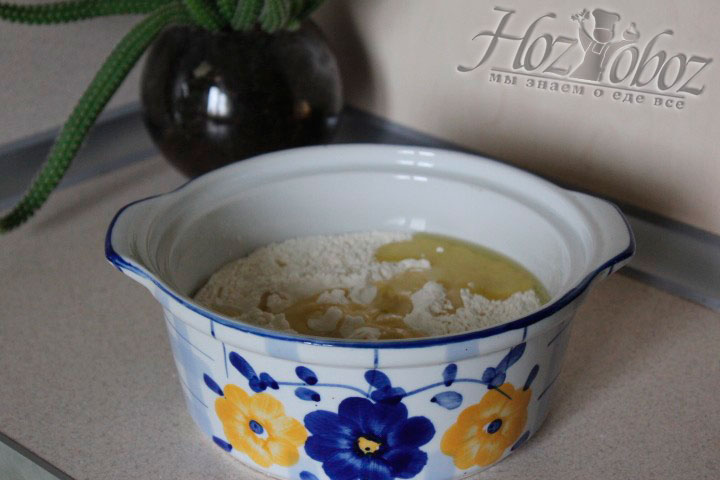
Add the required amount of olive oil
- Add salt to the dough.
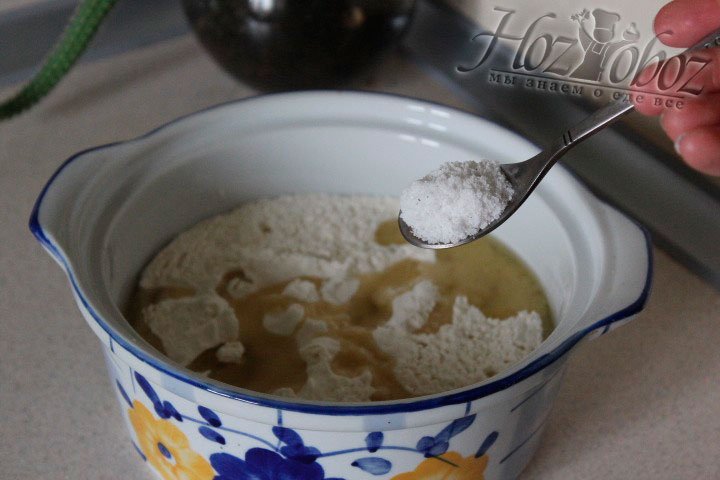
Salt the future dough
- Pour the yeast, which has already reacted, into the flour. How to define it? Fluffy foam is collected on top of the water - then water with yeast can be safely added to the dough.
Now add the yeast billet to the bowl, which has become covered by this time with a foam cap
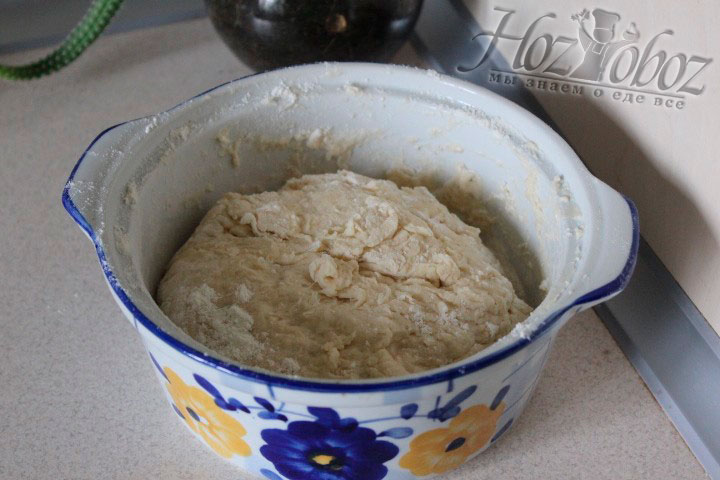
- Knead soft and airy yeast dough. Leave the dough to rise in heat for about 1 hour.
Knead the dough by hand and let rise for about an hour
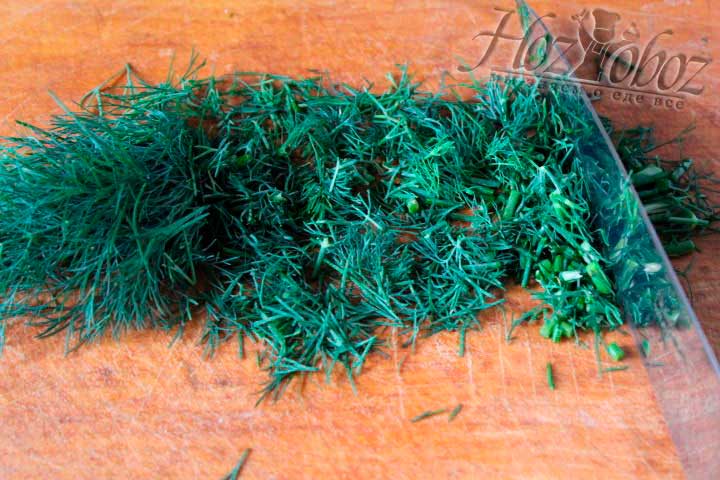
- While the dough is coming up, prepare the filling. To do this, finely chop the dill.
For the filling, cut the dill into smaller pieces
- Pass through a press or finely chop the garlic.

Peel the garlic and press it through a press
- Send the butter to the oven so that it softens to a semi-solid consistency.
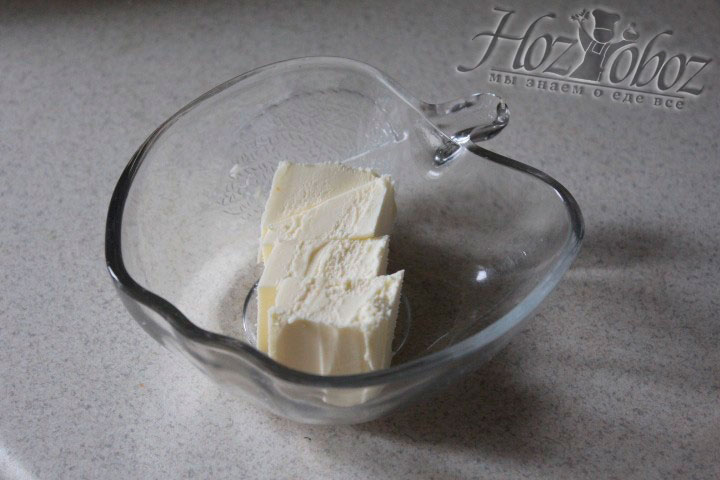
We use soft butter, but not ghee
- Mix dill, garlic, softened butter and, if desired, other seasonings.
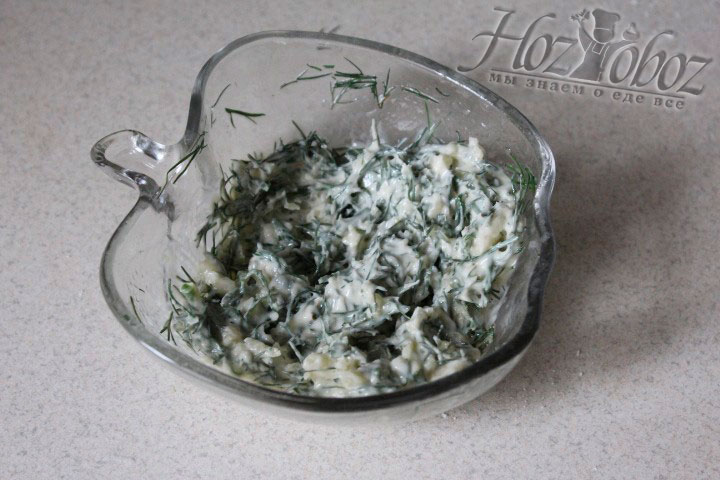
Combine dill, garlic and oil, as well as other seasonings and spices
- When the dough has risen and increased in size, punch it at least once.
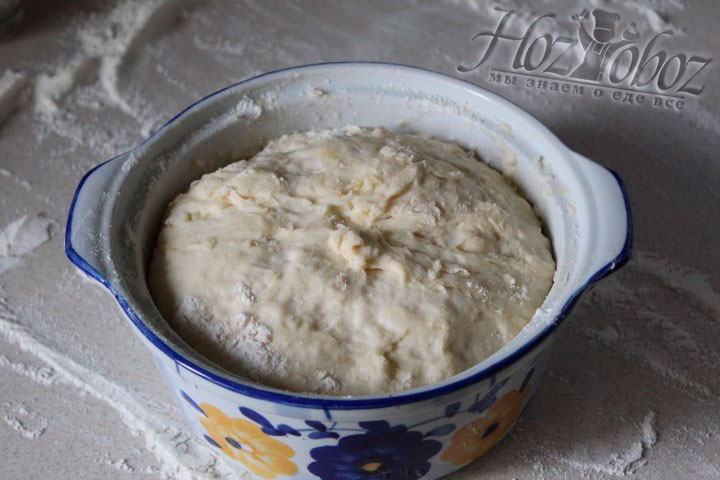
Ready-to-mix dough again
- Form a roll from the dough, sprinkle it well with flour.
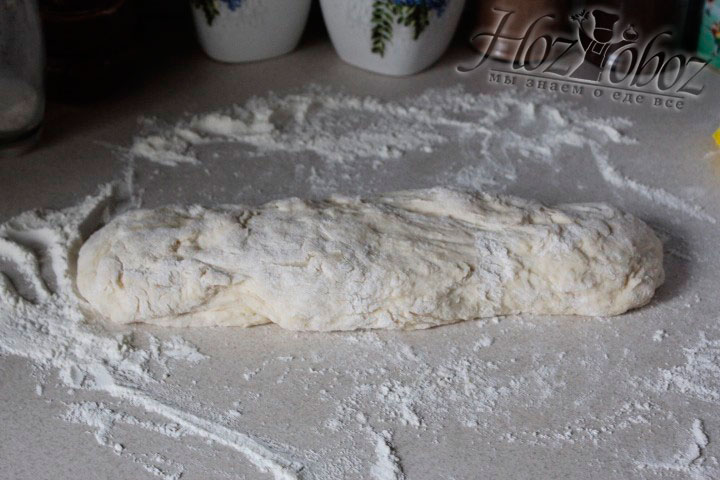
From the dough we form a roll
- Cut the dough into equal parts with a floured knife.
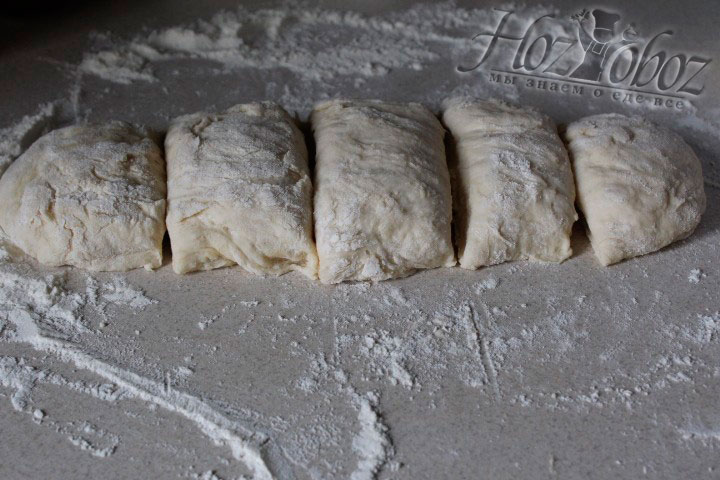
Divide the roll into parts with a floured knife
- Form balls from yeast dough.
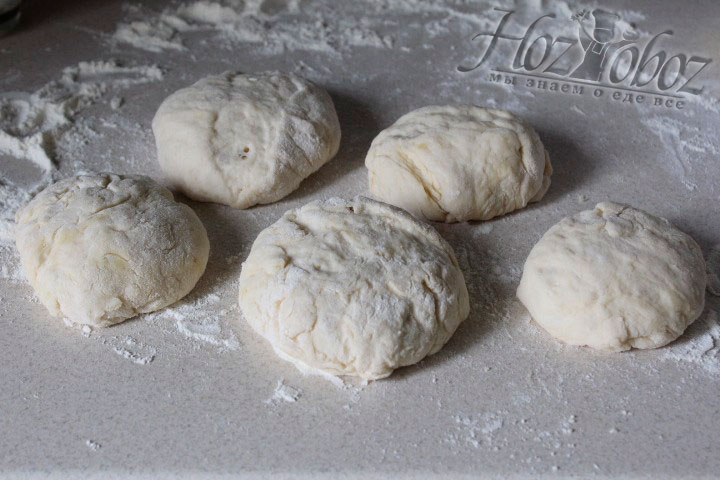
Turn each portion of the dough into a ball
- Put the balls on a baking sheet with parchment paper.
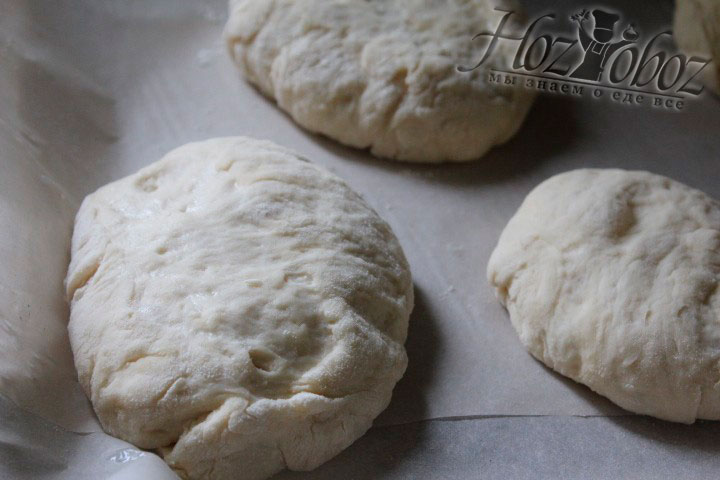
Place balls of dough on a baking sheet lined with parchment
- With a sharp knife, make cuts in the buns.
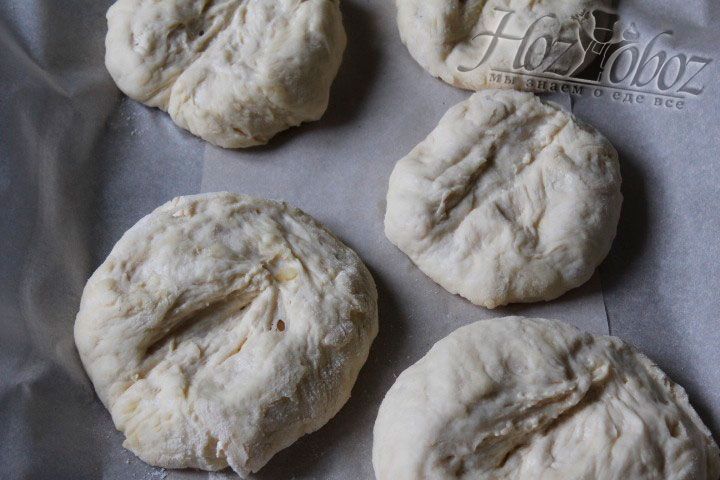
Make cuts on buns with a sharp knife
- Place the aromatic filling in the cuts. We send garlic buns to the oven to bake at 180-200 degrees, for 20 minutes.

Put a little stuffing into the cuts and bake the buns for 20 minutes at a temperature of 180-200 degrees
- We serve ready-made buns to the table. Bon appetit!
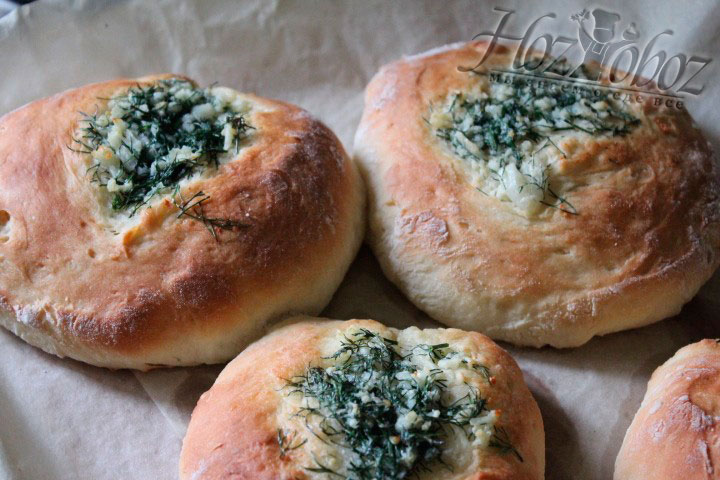
Ready-made sweets are urgently served to the table!
Today we baked fragrant, healthy and always appropriate pastries. Prepare these buns for dinner easily, but the flavor will be in the whole kitchen. You can change the toppings, add spices and herbs to your liking. If you add milk instead of water to the dough, the buns will come out even more tender and softer. Prepare the perfect combination - garlic buns in the oven with borscht - this is the perfect tandem.
Benefits of the dish:
Undoubtedly, garlic buns in the oven are a very tasty and pretty dish. Yeast in the dough is useful for good stomach function, digestion, hair and nail health. And garlic and herbs not only give the dish a wonderful flavor, but also strengthen the immune system. But you don’t need to get carried away with baking if you take care of your figure, after all, buns are very high in calories. And if you need energy, a reserve of strength and need a quick and satisfying snack - these buns will come to your aid. And how to make garlic buns tasty and fast, hozOboz will tell you.